Amazing DIY Home Decorations and Crafts
Last year, my friend moved into a new home and we were both responsible for the overall décor and design of her new home. However, instead of buying, she wanted to make her own decorations and I must say that the result was very satisfying.
So, if you are looking for some DIY home décor ideas, well, you are in the right place!
DIY Rustic Chalkboard Materials you’ll need:
- Paintbrush
- Chalkboard paint
- Wood Slice
- Picture/paint stand to hold it up
Instructions on how to make the DIY Rustic Chalkboard:
Stage 1:
You can start by getting rid of the plastic off the wood and dusting off any dirt on it.
Stage 2:
Apply a fresh and light coat of chalkboard paint. It’s recommended to follow the lines on the wood so as to give it a more natural charm and rustic look rather than just painting an oval. Set aside and let it dry for at least one hour.
Stage 3:
Next, apply another coat of chalkboard paint and this time, let it dry for around 24 hours. Once the 24 hours are over, rub the chalk all over the chalkboard to season the paint.
Stage 4:
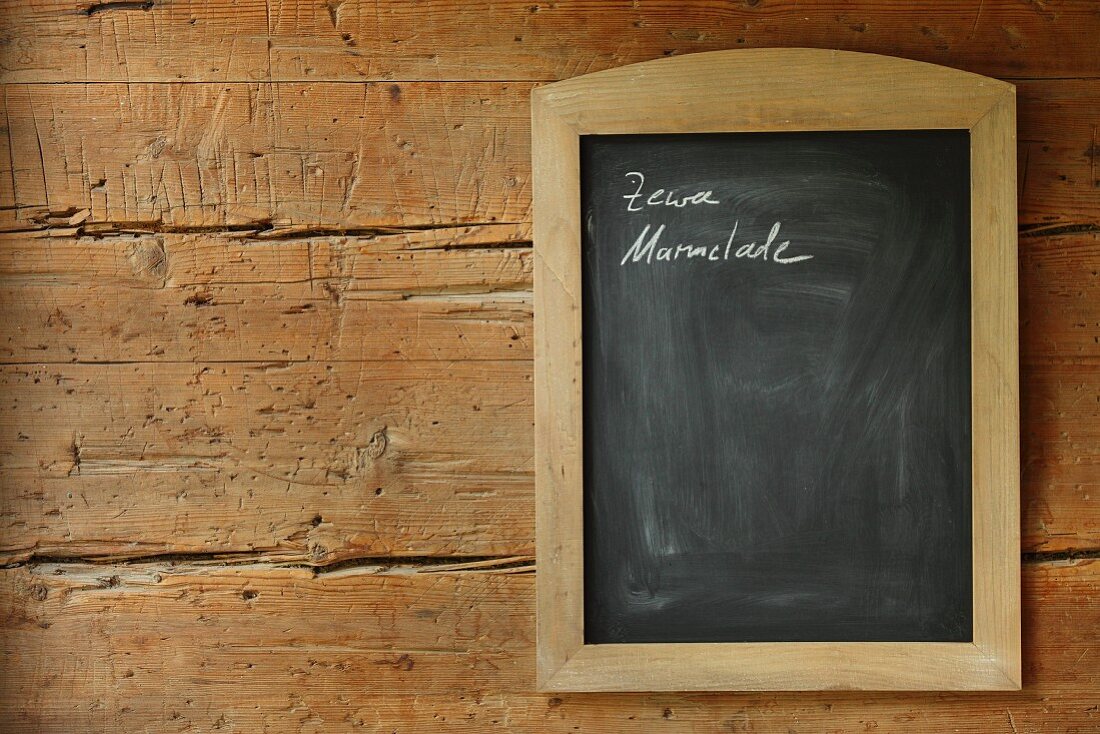
It’s now up to you to write, create or design whatever you want to display on your rustic chalkboard. It can be a famous quote from a famous person or your favorite actor. Or, it could also be a religious saying. But, don’t forget that you can also use a frame holder.
DIY Flower Chandelier
 Materials you’ll need:
- A glue gun
- A pair of scissors
- 1-2 yards of lace trim
- 3-4 dozen flowers
- A wooden embroidery hoop
- Floral shears
- A bucket
- 15-20 yards of assorted ribbon
Instructions on how to make the DIY Flower Chandelier:
Stage 1:
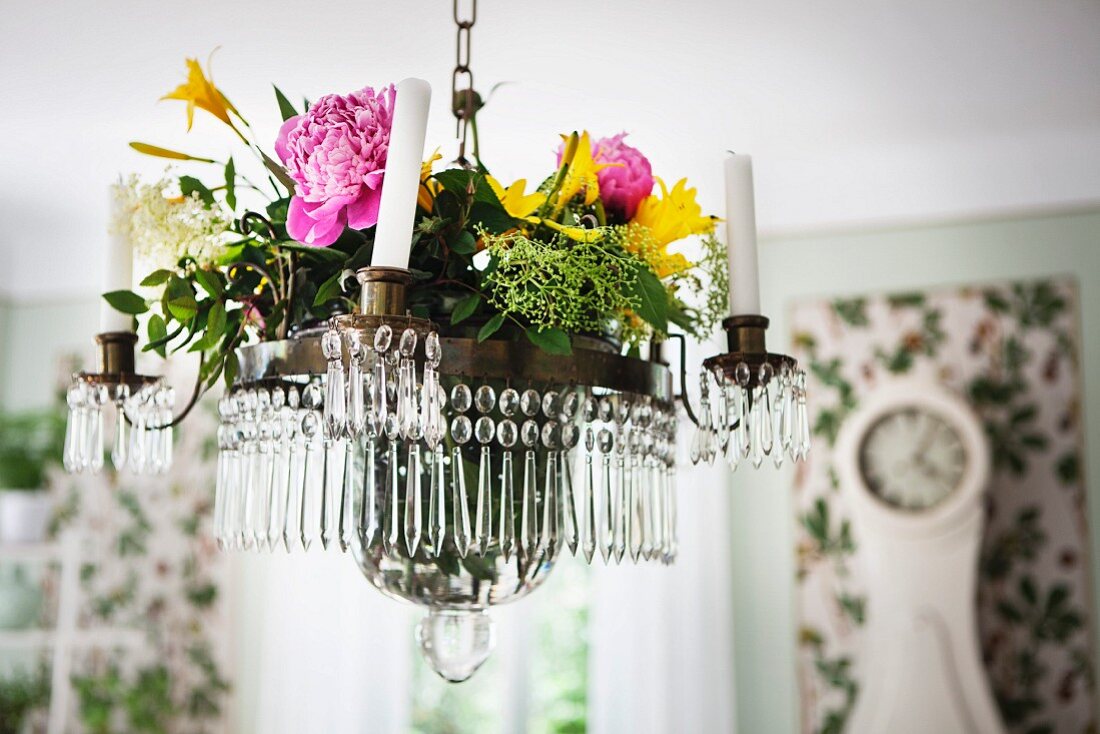
This flower chandelier is going to be a piece of decoration in your house, so you decide what kind of flowers you want to use. I previously worked with varieties of roses, lilacs and peonies.
Right after buying, I suggest immediately giving them a trim before placing them in a bucket half-full of clean water. You can leave them overnight or if you want better results (that is, fully-bloomed flowers), I suggest waiting for at least 2 days. And, note that it’s important to get rid of any outer petals that might have been damaged in transit.
Stage 2:
Around 2-3 yard lengths of the ribbon should be cut, folded in half and threaded through the D-ring to create a small loop just at the end. The ends of the ribbon should be pulled and remember that they should be pulled tightly.
Anchored by the D-ring, make sure that the four strands of ribbon are even.
Stage 3:
From the base of the ring, measure around 18 inches down and tag it with a marker. After removing the outer ring from the embroidery hoop, split the circumference of the hopp into four equal parts with a marker. Outline the marking on the ribbon with the brink of the embroidery hoop. Then, use hot glue to stick to the inside of the hoop.
Stage 4:
Make a “V” with the hot glue and try to wrap the ribbon and secure it around the hoop. Repeat this same step for all 4 sides.
Stage 5:
The base of the chandelier is done, now you can start adding the flowers and tie them to the ends of the four strands of ribbon.
Stage 6:
Using the varying lengths of the ribbons, attach the flowers to the rest of the hoop and stick the ribbons onto the hoop with the hot glue. And, try to make an even distribution of flowers.
Recovered Wood Coffee Crate Lid Sign
The How-To:
You can start by cutting three fence planks to the desired length and then secure those by tying two boards from behind (don’t forget to leave intentional gaps for the S hooks).
I’m sure you are wondering if you can actually use the S-hooks to hang coffee mugs, well you can but for that, you’ll need to attach a support on the back so as the sign is pushed a little bit away from the wall.
You can also use the hinges found along the top of the sign to hang the sign with.
