Biblical DIY Home Projects Absolutely Any Christian Can Do
There’s no denying that the internet has created many DIY know-it-alls. And, I find it really cute when people try to use their homes as playgrounds to share and experiment with their crafts and talents.
However, when you are a Christian, DIY home projects are not only meant to spruce up your space or add sophistication to it; instead, believers will try to add touches of God’s word to their home.
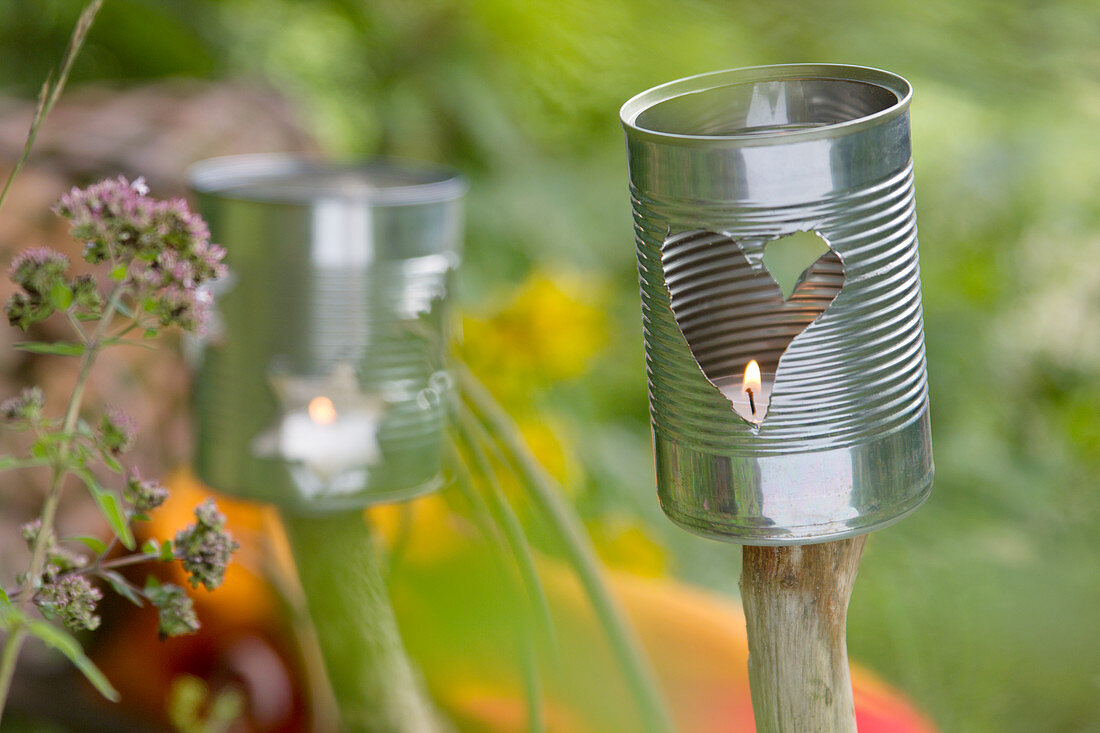
Gorgeous Biblical Tin Can Lanterns
 My kids found this amazing idea on the net and so I decided to help them out.
The Materials You’ll Need:
- A masking tape
- Glass beads
- Seed Beads
- Acrylic paint
- Battery tea lights
- Jewelry wire
- Electric drill and drill bits for metal
- Washed and dried tin cans (I guess these are the easiest to obtain)
Instructions on How to Make Gorgeous Biblical Tin Can Lanterns:
Step 1: You can start by washing and drying the cans properly. Personally, I’d recommend you not to assign this particular task to your kids (especially if they are still around 4-7 years old) as the edges of all cans are usually very sharp.
Out of my recycling bin, I tried to find cans of different shapes and sizes. But, the choice is up to you.
Step 2: For this “craft” part of the project, you can ask your kids to help by using their school acrylic paints and missing the different colors to obtain the right shades of paint they want for the cans. With my little girls, we end up with pinks, reds and whites but they were really mindful and kind when I asked for a deep blue (yeah, I’m into these shades actually).
The tins required only two coats of paint, but if you are going to place the lanterns outdoors, I think it’ll be better if you use a more long-lasting waterproof paint, or my spouse suggested, varnish them when they are finished.
Step 3: While you let the paint dry, ask the kids to sketch out a simple design for the front of the can on a piece of paper. It can be anything – a butterfly, a flower, a house, a car. And, remember, you need to include a Biblical quote or a few Biblical words. Since it was supposed to be a “Biblical” can, I asked my kids to draw the ark of Noah (that’s because they learned it at the Sunday school lesson for kids). Honestly, at first, it was difficult to “understand” their drawings, so I tried helping them by marking dots and lines so they could have a sense of direction while drawing.
In the end, for the drawing, we had an ark, stars, birds and a man that was not close to what Noah looked like but we adjusted and we used the quote, “God is our refuge and strength.”
Step 4: Now it’s time to tape the paper design onto the front of the tin can. To avoid a seam, use the masking tape. Then, I used the kids’ play dough to stick the tin can onto the table to make it more stable for me to drill. And, trust me, it worked perfectly, but you’ll have to throw the play dough after as it will probably have lots of tiny metal shavings in.
An alternative to play dough is a rolled-up tea towel.
Step 5: Take your time to work your way around the design, drilling each hole carefully. And, remember to add an extra one on each side in order to attach a handle.
On a personal note, if you are not used to this drilling stuff and all (like me), I suggest practicing holding the drill vertically and starting it really slowly and then building up the speed. Believe me, I had two-three quick trial runs on spare tin cans before I started on the designs.
Note: For this stage, it’s better to keep the kids away and give them some break time.
Step 6: Now that the tin cans have their designs drilled in, it’s time to set the handles. You can now call the kids and ask them to cut a short length of wire about 10-12 cm longer than needed (there should be spare for securing the tin can lantern’s handle. After that, ask the kids to weave the wire with seed beads and 3-4 of the glass beads.
Step 7: Once the threading stage is done, weave the lantern’s handle through the holes you made in the side of the can.
