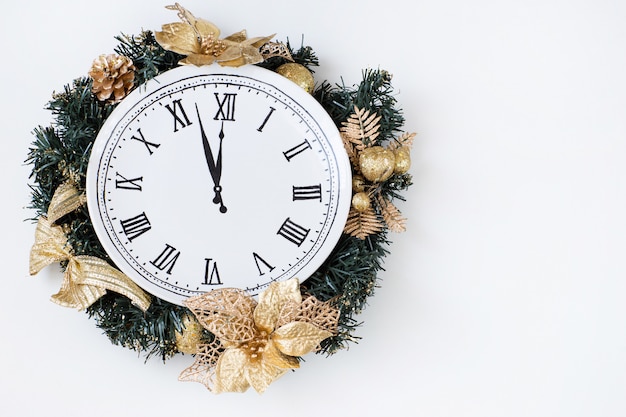
Your Own Homemade Clock – Part 4
Do you know that a clock is not only functional but can also be used as home décor? So, rather than opting for a store-bought clock, why don’t you create your own?
Homemade Floral Wall Clock

There is that cute little shop near my house that always seems to have some interesting and unique DIY art on their walls and one of the things that I discovered is a clock made out of fake leaves and flowers. The first time I saw it, I was like, “I want it, I want it.” If you are up for some unique, cute and floral type of clocks, all you need to do is follow the instructions below!
Materials you will need:
- Wire wreath frame
- Floral tape
- Clock movement kit
- Cardstock
- Double stick tape
- Scissors
- Florals and greenery – large flowers like garden roses and ranunculus, small pieces like billy balls and leafy greens like ferns.
- Wall putty
- Nail or hook
Instructions on how to make a Floral Wall clock:
Step 1: Your first step is to cover your wreath form with greenery. One stem at a time, wrap the stem of the greenery and a section of the wreath form together so that the stem stays fixed. You should work until the wreath is completely covered.
Step 2: Now for the clock movement, first you will need to cut two strips of cardstock — one long one for the minute hand and one shorter for the hour hand. Then, using double-stick tape, affix the cardstock to the appropriate clock hands and assemble your clock movement according to the package instructions.
Step 3: The third step includes placing a nail or hook in the wall where you would like to hang your clock and hang the greenery-covered wreath. So, start by placing clumps of larger flowers around the clock where the 12, 3, 6, and 9 hours would be. You should be able to trim the stems to about 3 inches and just weave them through the wreath and greenery and have them hold. If you think that some flowers will fall, don’t take the risk and use a bit of floral tape to fasten a stem in place.
Step 4: For the smaller hours such as 1,2,4,5,7,8,10 and 11, I suggest you to place a small flower like a billy ball at each hour mark. You can apply the same technique as described in step 3.
Step 5: Now it is time to affix the clock movement to the wall in the center of the wreath using wall putty or something similar and removable. It is now up to you if you want to include a couple of smaller blooms around the clockwork to soften the look.
Homemade Kids’ Balloon Clock

I think all kids love balloons, especially mine. Let me share the festive and interesting homemade balloon clock that I made for my kid on last Christmas.
Materials you will need:
- Balloon Time Helium Tank
- Round foil/Mylar balloons
- Vinyl number stickers (found at an office supply store)
- Gold glitter cardstock
- Masking tape or glue dots
- Twine, string or ribbon
Instructions on how to make the Balloon Clock:
Step 1: First, you start by inflating the foil balloons using a balloon time helium tank. Then, tie the tail with string.
Step 2: Now, cut out two arrow shapes, that will be used for the clock’s hands, and one small circle from the gold glitter paper.
Step 3: Stick the stickers around the balloon to form the clock’s numbers. And, to keep the number spacing even, I suggest you start with the 12 at the top followed by the 6 at the bottom. Then you can add the 3 and 9 on their respective sides and fill in the other numbers in between.
Step 4: The final step includes taping the end of the minute hand to the center of the balloon, pointing in-between the 11 and 12. Then, place the hour hand on top, pointing at the 12. Finally, put the circle on top, covering the base of the hands.
Which one will you create at home? Please share your comments!
